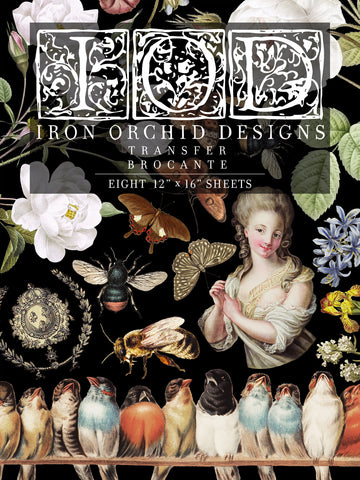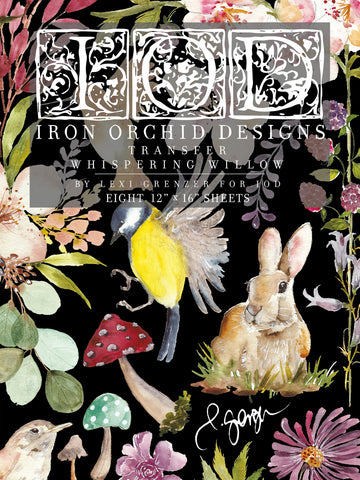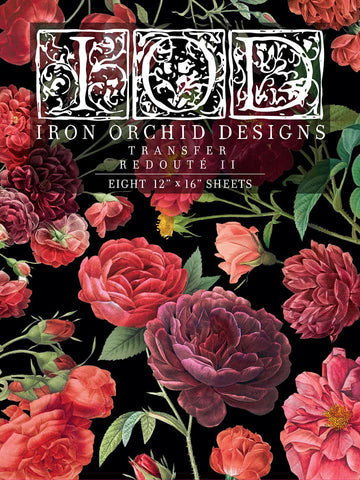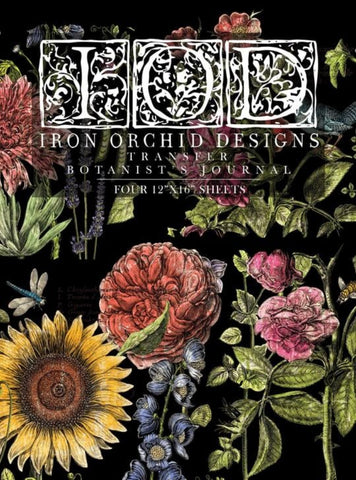

Transfers
Iron Orchid Design Transfers are a little delicate, need a little extra care, but are so worth it. With a little instruction, they are easy to use and add instant style to your projects. Keep your transfer with its backing sheet until you are ready to apply.
Keep free of dust or debris, which will interfere with adhesion. Do not allow the adhesive side of transfer to touch anything prior to application. When handling the transfer, avoid letting the adhesive side touch itself (don’t do in a windy environment). Do not store transfer in extreme temperatures or humid conditions, which can affect adhesion.
Start with a clean, dry, matte surface. If painted, make sure it’s well cured, and if you have sanded the paint make certain there is no residual dust. All of these things will interfere with adhesion.
Carefully remove the transfer from its white backing. Slowly and carefully lower the transfer onto your intended surface, making sure that it does not touch until the placement is correct. Use small pieces of low tack tape to hold it in place.
Using the provided tool, or one of your choice, start at one end of the transfer and rub firmly to adhere the image to the surface. Do this until the entire image is transferred. You are welcome for the free arm workout as well. If any parts aren’t transferred when you lift, simply lay it back down and rub more on that portion. After it is transferred, with a clean dry hand, smooth down any bits that aren’t flatly adhered.
We recommend sealing with a water based (or not harsh solvent based) sealer (Our preferred top coat is our Fusion Clear wax)